TL;DR:
Perform a multi-point external calibration with NIST-traceable weights, documenting all readings before and after adjustment. A careful setup, environmental control, and proper recordkeeping are essential for metrological accuracy and audit compliance. Regular verification ensures consistency, reliability, and early detection of drift or faults in analytical balances.
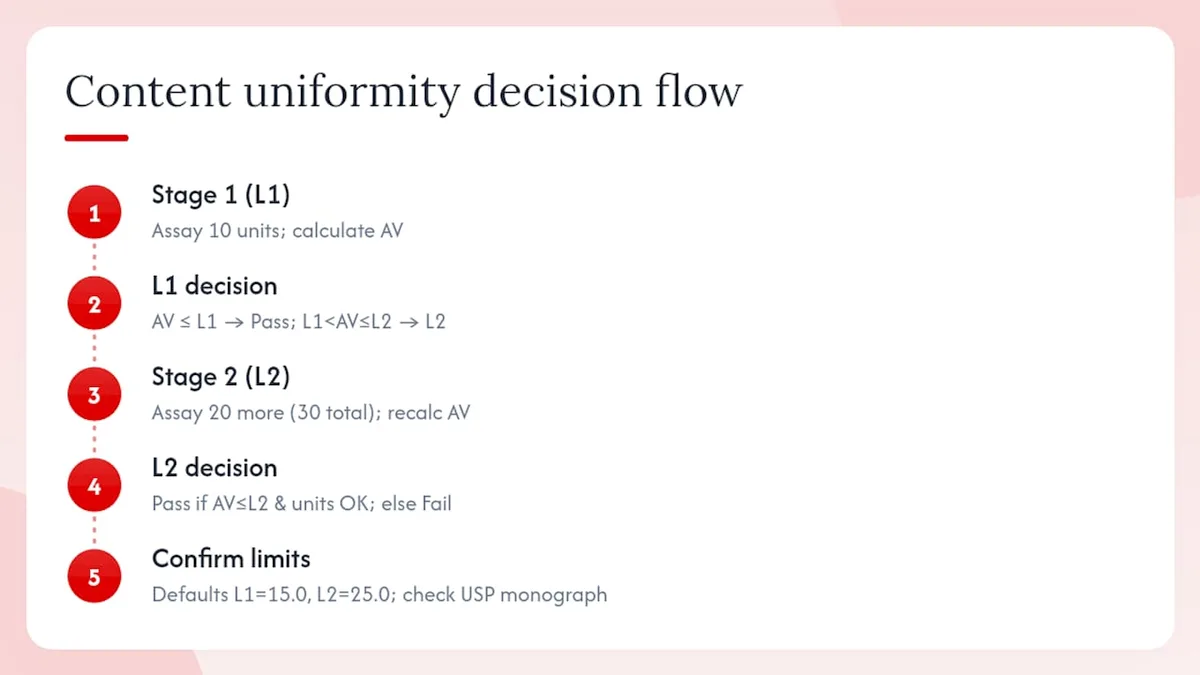
Perform a multi-point external calibration using NIST-traceable weights, document as-found and as-left readings, and verify repeatability before any critical weighing session. That single directive covers the core obligation. Before you read the full procedure, run through these immediate steps:
Warm-up: Power on the balance and allow it to reach thermal equilibrium. Most analytical balances require a warm-up period that can vary widely; check your manufacturer’s specification.
Level check: Confirm the bubble level is centered. Adjust leveling feet if needed.
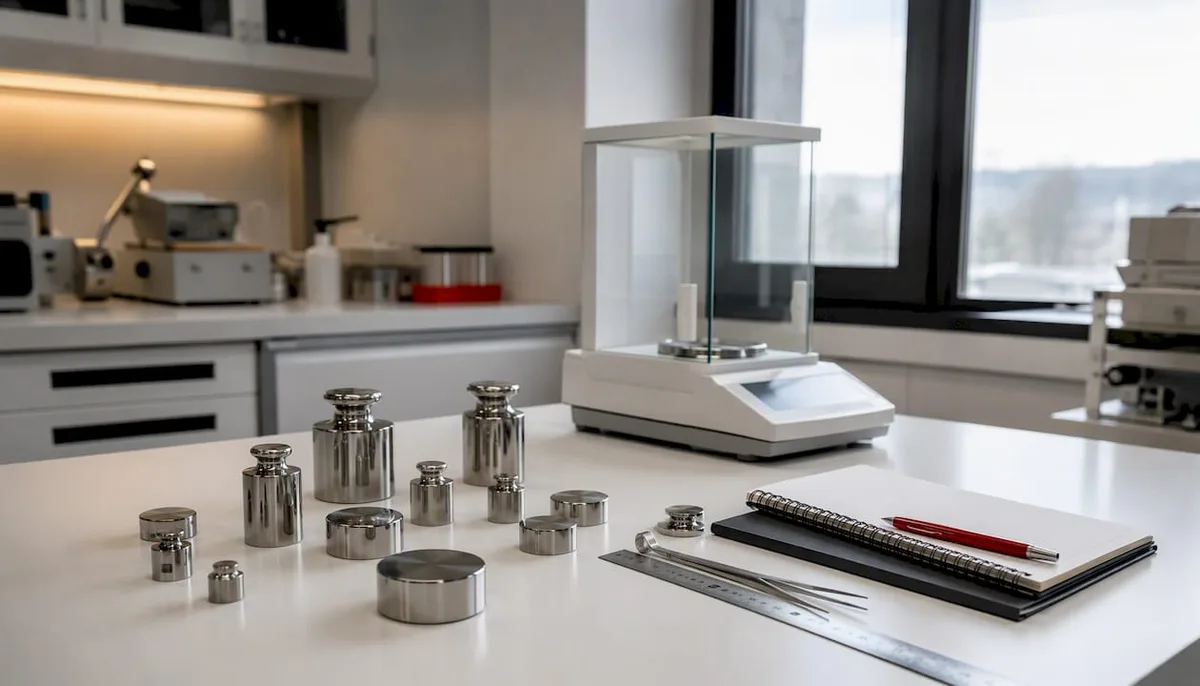
Select traceable weights: Pull OIML Class E2 or ASTM Class 1 weights with a current ISO/IEC 17025 calibration certificate.
Single-point repeatability screen: Place the same weight 10 times consecutively and record each reading before any adjustment.
Minimum acceptance criteria to proceed vs. escalate:
Repeatability standard deviation ≤ 0.41d (where d = scale interval), per typical USP <41> guidance
Linearity error at each test point ≤ 0.10% of the nominal load
Eccentricity deviation ≤ 1.5d from the center reading
If any criterion fails after environmental stabilization, tag the balance out of service and contact an accredited service provider
Table of Contents
What equipment and standards do you need before calibrating?
How to run a full analytical balance calibration, step by step
How to set acceptance criteria and estimate measurement uncertainty
How environment and bench setup affect your calibration results
What records do you need to keep for traceability and audits?
Useful sources and where to find accredited calibration services
What equipment and standards do you need before calibrating?
Assembling the right materials before you start is not a formality. Using the wrong weight class or an expired certificate can invalidate the entire calibration record, regardless of how carefully you run the procedure.
Test weights and weight classes
OIML R111 and ASTM E617 specify the weight classes appropriate for each balance readability. For analytical balances with 0.1 mg readability, OIML Class E2 or ASTM Class 1 weights are the standard recommendation. Ultra-microbalances with 0.001 mg readability require OIML Class E1. Using a lower-accuracy class (such as ASTM Class 4) introduces test uncertainty that can exceed the balance’s own tolerance, making the calibration meaningless.
Certificates and traceability
Every weight set must carry a current calibration certificate issued by an ISO/IEC 17025-accredited laboratory, with an unbroken traceability chain to NIST or another recognized national metrology institute. “Current” typically means within the recalibration interval stated on the certificate, often one to three years depending on weight class and use frequency. A certificate from a non-accredited lab does not satisfy traceability requirements under ISO/IEC 17025 or USP <41>. For a deeper look at how traceability chains work for reference materials, the reference material traceability guide covers the certification hierarchy in practical terms.
Auxiliary tools and instruments
Item | Purpose |
Calibrated spirit level or electronic level | Verify pan levelness before and after adjustment |
Anti-vibration table or isolation mount | Reduce mechanical noise during testing |
Forceps or weight-handling tongs | Prevent fingerprint contamination |
Anti-static ionizer | Neutralize electrostatic charge on weights or containers |
Calibrated thermometer/hygrometer | Log ambient temperature and relative humidity |
Magnifier or loupe | Inspect weights for surface damage or contamination |
Logbook or LIMS entry screen | Record all as-found/as-left data in real time |
Pro Tip:Never touch calibration weights with bare hands. A single fingerprint deposits oils and particulates that measurably change a weight’s effective mass, particularly at the sub-milligram level. Always use forceps, and store weights in a closed, padded case in a dry, dust-free environment.
“Fingerprints and contamination change a weight’s effective mass; store weights in a dry, dust-free box and inspect under magnification before use.” — Lab Manager, Analytical Balances and Proper Weighing Practices
Standards and guidance documents to reference
USP <41> and USP <1251>: Compendial requirements for balance performance in pharmaceutical and research labs
ASTM E617: Standard specification for laboratory weights and precision mass standards
OIML R111: International recommendation for weights of classes E1 through M3
ISO/IEC 17025: Accreditation standard for calibration and testing laboratories
EPA SOP EQ-03-10: Federal SOP for calibration and maintenance of weigh balances, useful as a procedural reference for government and contract labs
How to run a full analytical balance calibration, step by step
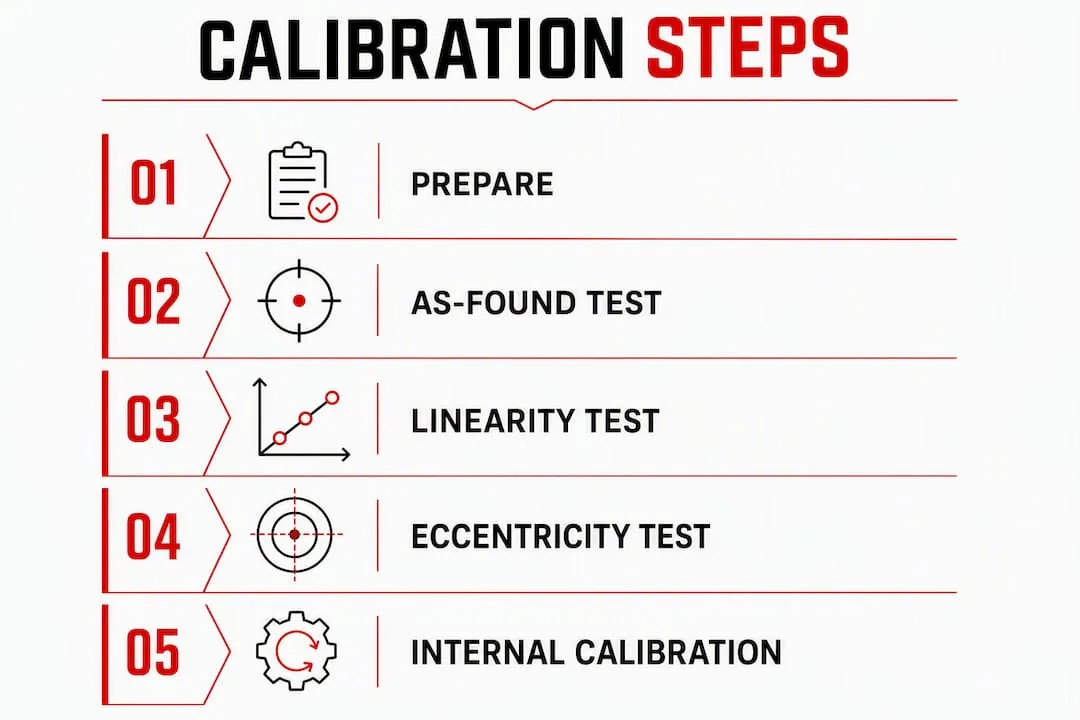
This procedure covers internal adjustment, external multi-point calibration, and the three core verification checks: repeatability, linearity, and eccentricity. Run them in the order shown. Never adjust the balance before completing as-found testing.
Phase 1: Warm-up and environmental prechecks
Power on the balance and allow it to warm up per the manufacturer’s specification. Typical analytical balances need a warm-up period that can vary; micro and ultra-microbalances may require a longer time. Skipping this step is one of the most common causes of drift during calibration, because the electromagnetic force restoration (EMFR) sensor and electronics must reach thermal equilibrium before readings stabilize.
Verify the balance is level. Center the bubble in the spirit level; adjust the leveling feet if needed and recheck.
Log ambient temperature and relative humidity. Confirm temperature stability is within ±1°C over the preceding hour before proceeding to as-found tests.
Close the draft shield and allow the pan to stabilize for at least 5 minutes with no load.
Phase 2: As-found testing (before any adjustment)
Zero and drift check: Tare the balance and observe the display over 5 minutes. A drift exceeding 1d per minute suggests the balance has not reached equilibrium or there is an environmental disturbance. Resolve before continuing.
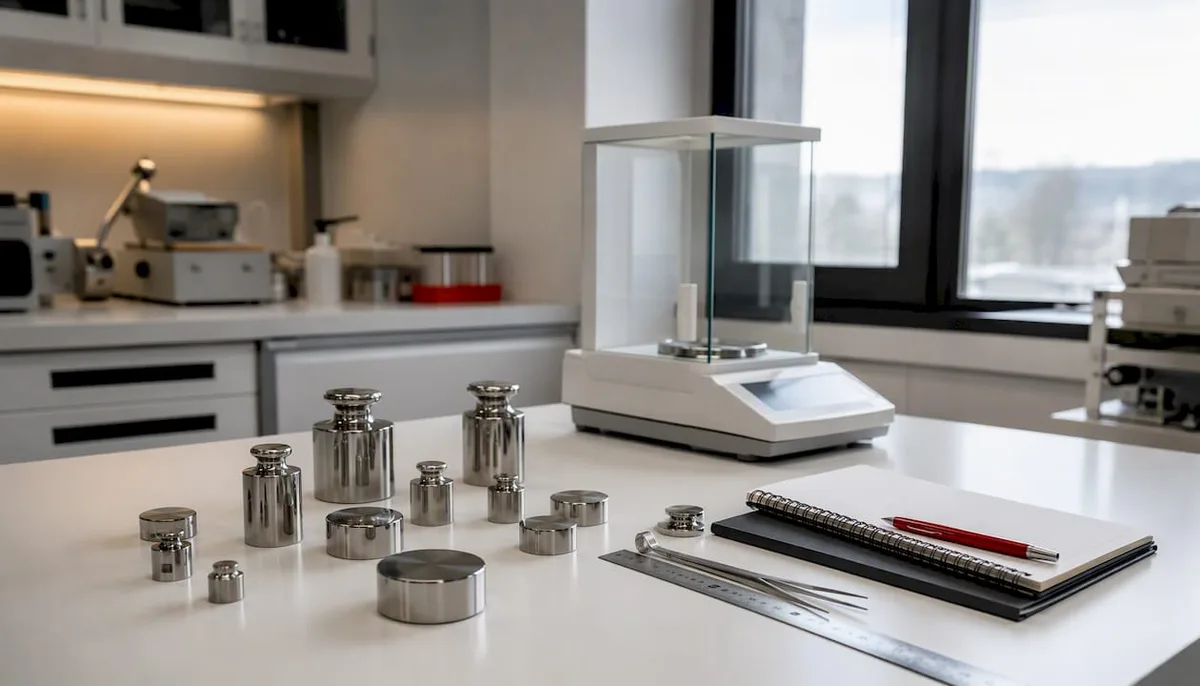
Single-point repeatability (10×): Place the same NIST-traceable test weight 10 times consecutively, removing and replacing it fully between each placement. Record each reading. Calculate the standard deviation (s) of the 10 values. This is your as-found repeatability.
Initial documentation: Record the date, time, technician name, instrument ID, serial number, ambient conditions, weight IDs, and certificate numbers before any adjustment.
Phase 3: External multi-point linearity (5-point test)
Select five test points spanning your routine working range: zero, approximately 25%, 50%, 75%, and 100% of the maximum load you use in practice. Place each weight, wait for the reading to stabilize (typically 10–30 seconds after the stability indicator appears), and record the as-found reading. Do not adjust the balance between points.
Nominal Mass (g) | Certified Mass (g) | As-Found Reading (g) | Error (g) | As-Left Reading (g) | Pass/Fail |
0 (tare) | 0 | 0 | 0 | 0 | Pass |
10 | — | — | +0.0002 | — | Pass |
50 | — | — | +0.0002 | — | Pass |
100 | — | — | — | — | Pass |
— | — | —.0012 | — | —.0001 | Pass |
Note: Values above are illustrative of the data structure. Replace with your actual certified mass and observed readings.
Phase 4: Eccentricity (corner-load) test
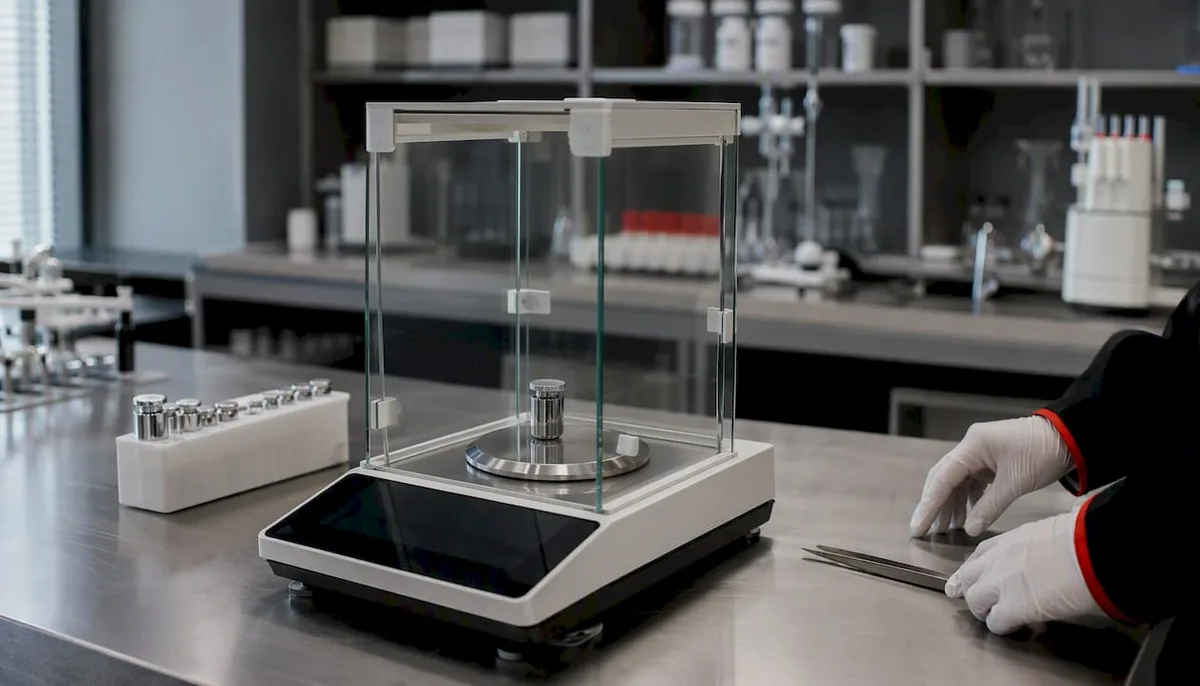
Place the test weight at the center of the pan and record the reading. Then place it successively at the front-left, front-right, rear-left, and rear-right quadrants. Calculate the deviation of each corner reading from the center reading. Deviations exceeding your lab’s acceptance limit (commonly 1.5d) indicate a pan or suspension problem requiring service.
Phase 5: Internal calibration and as-left documentation
Internal automatic calibration uses a built-in motorized weight to adjust the balance’s span. Run it after completing all as-found tests. Then repeat the single-point and multi-point checks to generate as-left readings. Record both sets. Internal calibration is convenient for frequent performance checks, but it does not by itself provide metrological traceability; external weights and certificates are required for the official calibration record.
Pro Tip:Always complete as-found testing before triggering any internal or external adjustment. Adjusting first destroys the as-found data, which auditors and accreditation bodies require to assess instrument drift over time.
How to set acceptance criteria and estimate measurement uncertainty
Numeric tolerances
Common acceptance thresholds in USP <41> and ASTM E617 contexts include:
Accuracy/linearity: Error at each test point ≤ 0.10% of the nominal load
Sensitivity: The balance must detect a change equal to the scale interval (d) when a sensitivity weight is added
Repeatability: Standard deviation of 10 replicates ≤ 0.41d for most analytical work
These are typical industry values, not universal mandates. Always confirm against your lab’s quality policy, the manufacturer’s specification, and the applicable regulatory standard for your product type.
“A balance can display precise numbers while being inaccurate; technicians must calculate a minimum weight from repeatability rather than trusting display readability alone.” — CASRAI Analytical Balance Calibration Guide
Minimum weight calculation
Derive the minimum weighable mass from the repeatability standard deviation. Multiply the standard deviation (s) from your 10-replicate test by a safety factor (commonly 2 for a 95% confidence level, or higher per USP <1251> guidance). The result is the smallest mass you can weigh with acceptable relative uncertainty. A balance displaying 0.0001 g resolution does not automatically mean you can weigh 0.001 g reliably; the minimum weight calculation tells you the true lower limit.
Statistic callout: A repeatability standard deviation of 0.0002 g on a 0.1 mg balance, multiplied by a safety factor of 2, yields a minimum weight of 0.0004 g. Any sample below that threshold carries unacceptable relative error regardless of what the display shows.
Measurement uncertainty components and reporting
Combine these uncertainty components using root-sum-square (RSS):
Repeatability (u_rep): Standard deviation from 10 replicates ÷ √10
Weight certificate uncertainty (u_cert): Stated expanded uncertainty from the calibration certificate ÷ coverage factor (usually 2)
Environmental contribution (u_env): Estimated from temperature stability and air buoyancy correction if applicable
Example (simplified): u_rep = 0.00014 g, u_cert = 0.00005 g, u_env = 0.00003 g. Combined standard uncertainty = √(0.00014² + 0.00005² + 0.00003²) ≈ 0.00015 g. Expanded uncertainty at k=2 ≈ 0.00030 g.
Calibration certificate reporting checklist:
Date and time of calibration
Technician name and signature
Instrument ID and serial number
Ambient temperature, humidity, and stability confirmation
Weight IDs, certified masses, and certificate numbers
As-found and as-left readings at each test point
Calculated errors and pass/fail status
Combined measurement uncertainty and coverage factor
Statement of traceability to NIST
How often should you calibrate your analytical balance?
The right answer is risk-based, not calendar-driven. A balance used daily for critical pharmaceutical release testing needs more frequent verification than one used occasionally for general reagent preparation.
Typical schedule for most QC and research labs:
Daily or before each use: Single-point check with one NIST-traceable weight at a mass representative of your routine work. Log the result. This takes under two minutes and catches gross failures before they affect data.
Weekly to monthly: Full in-house multi-point verification covering repeatability, linearity, and eccentricity. Frequency depends on use intensity and criticality.
Annually (or per quality system): Full external calibration by an ISO/IEC 17025-accredited service provider, delivering a formal calibration certificate with as-found/as-left data and stated measurement uncertainty.
Event triggers that require immediate calibration or verification, regardless of schedule:
Balance relocated to a new bench or room
Significant ambient temperature change (>5°C shift)
Failed daily or periodic performance check
Repair, cleaning, or firmware update
Suspected impact or overload
Unacceptable drift observed during routine use
Risk-based frequency adjustments:
Increase frequency if historical data shows drift between scheduled checks, if the balance supports GMP release decisions, or if the working range is near the minimum weight threshold.
Decrease frequency (with documented justification) if long-term performance records show consistent pass results and the balance is used infrequently for non-critical applications.
How environment and bench setup affect your calibration results
Physical environmental effects produce slow drift that electronic auto-calibration cannot eliminate. Good bench setup is as important as the calibration procedure itself.
Key environmental drivers
Drafts are the most common source of unstable readings. Even a slow air current from an HVAC vent or a nearby door can deflect the pan load cell signal. Always close the draft shield before placing a weight, and keep the shield closed for the full stabilization period.
Thermal gradients affect the EMFR sensor directly. A balance placed near a window, a centrifuge, or a hot plate will experience localized heating that shifts the span calibration. The Mettler Toledo guidance recommends verifying temperature stability within ±1°C per hour before beginning as-found tests.
Vibration from nearby equipment, foot traffic, or building HVAC transmits through the bench and produces noisy, non-repeatable readings. An anti-vibration isolation mount is the most effective remedy; a dedicated balance room on a ground-floor slab is the gold standard.
Electrostatics are particularly problematic with powders in plastic containers. Static charge on the vessel creates an attractive or repulsive force between the container and the pan, producing a reproducible but incorrect reading. An ionizer positioned near the balance eliminates this effect.
Humidity below 40% RH increases static buildup; above 70% RH, hygroscopic samples absorb moisture during weighing. Maintain the balance room between 45–60% RH where possible.
“Physical environmental effects — drafts, thermal gradients, vibration, magnetism — produce slow drift that electronic auto-calibration cannot eliminate; good bench setup is as important as the calibration routine.” — Mettler Toledo, Weighing the Right Way
Pro Tip:Never place a warm sample container directly on the balance pan. The thermal convection current rising from the container creates a buoyancy effect that reads as a mass reduction. Equilibrate samples to ambient temperature for at least 15 minutes before weighing.
What records do you need to keep for traceability and audits?
Traceability is only as strong as the paper trail behind it. An auditor reviewing your calibration program will look for specific fields; missing any one of them can trigger a finding under ISO/IEC 17025 or a USP GMP inspection.
Required fields for every calibration record and certificate:
Date and time of calibration
Technician name, signature, and role
Instrument ID, model, and serial number
Location of the balance at time of calibration
Ambient temperature and relative humidity (with stability confirmation)
Weight IDs, nominal masses, certified masses, and certificate numbers for each weight used
Name and ISO/IEC 17025 accreditation number of the weight calibration laboratory
As-found readings at each test point
Adjustments made (internal or external)
As-left readings at each test point
Calculated errors and pass/fail determination
Combined measurement uncertainty and coverage factor
Reference to the applicable standard (USP <41>, ASTM E617, etc.)
Calibration status label applied (sticker or LIMS flag)
Chain-of-traceability expectations: Each weight’s certificate must name the accredited calibration lab, state the accreditation body and scope, and carry an expiration or recalibration date. A photocopy of an expired certificate does not satisfy traceability. For guidance on distinguishing between ISO/IEC 17025 calibration lab accreditation and ISO 17034 reference material certification, the ISO 17034 vs 17025 comparison clarifies which accreditation to request from a service provider.
Retention and LIMS practices:
Retain calibration records for the life of the instrument plus the period required by your quality system (commonly 5–10 years for GMP labs).
Attach or link weight certificates to each calibration record in your LIMS or document control system.
Apply a calibration status label to the balance showing the calibration date, due date, and technician initials.
Archive as-found/as-left data separately from the adjustment record so historical drift trends are visible.
Diagnosing and fixing common calibration failures
Most calibration failures trace back to a small set of root causes. The table below maps symptoms to likely causes and immediate actions.
Symptom | Likely Cause | Immediate Action | Escalate If |
Drift during repeatability test | Insufficient warm-up; thermal gradient; draft | Extend warm-up; close draft shield; check HVAC | Drift persists after 2-hour warm-up |
High repeatability SD | Vibration; electrostatics; contaminated pan | Check isolation mount; use ionizer; clean pan | SD exceeds 2× acceptance limit after remediation |
Corner-load deviation | Pan not level; suspension damage | Re-level; re-run eccentricity test | Deviation exceeds 2× acceptance limit |
Systematic bias at low points | Weight contamination; zero drift | Inspect weights under magnification; re-zero | Bias present after weight replacement |
Systematic bias at high points | Span error; internal weight fault | Run internal calibration; re-verify | Bias persists after internal calibration |
Sensitivity failure | Environmental instability; sensor issue | Stabilize environment; re-run sensitivity check | Failure persists after full warm-up |
“An analytical balance that is out of calibration does not warn the user — it continues to produce numbers that may be wrong; responsibility for routine verification rests with the lab.” — CASRAI Analytical Balance Calibration Guide
In-lab remedies before escalating:
Re-level the balance, extend the warm-up period, stabilize the environment, clean the pan with a lint-free cloth and isopropyl alcohol, and replace any suspect weights. If the symptom resolves, document the corrective action and re-run the full as-found sequence from the beginning.
When to escalate to accredited service: Tag the balance out of service and contact your accredited service provider when any failure persists after environmental remediation, when the balance has been impacted or overloaded, or when internal calibration no longer brings the span within tolerance. Before raising the service request, collect and preserve: all as-found/as-left data from the failed run, ambient condition logs, photos of the weight condition, and the instrument’s service history.
Why balances drift and what labs most commonly miss
Thermal gradients are the most underappreciated source of persistent drift in analytical work. A balance positioned near a centrifuge, autoclave, or even a computer monitor experiences localized heating cycles that shift the EMFR sensor’s output between measurements. Calibrating once in the morning does not protect against a 2°C temperature rise by mid-afternoon.
“Allow the balance sufficient warm-up so EMFR and electronics reach thermal equilibrium; skipping this is a leading cause of drift during calibration.” — CASRAI Analytical Balance Calibration Guide
Manufacturer-specific automatic calibration systems, such as FACT on certain Mettler Toledo balances, reduce the need for frequent manual span adjustments by triggering internal recalibration when the temperature shifts beyond a set threshold. These systems are genuinely useful for maintaining day-to-day accuracy, but they do not replace external traceable checks or generate the documented calibration certificate that auditors require.
Statistic callout: Manufacturer guidance indicates warm-up times varying widely depending on balance class, with micro balances generally requiring longer warm-up periods. Starting critical weighing before equilibration is complete is a documented leading cause of calibration drift.
Uncommon failure modes technicians often overlook:
Weight contamination from cleaning agents: Residual solvent on a weight surface changes its effective mass and introduces a systematic error that repeats across every calibration run until the weight is recertified.
Local air density gradients: A balance positioned near a cold exterior wall experiences a slightly different air density than one at room center, introducing a buoyancy correction error that is rarely accounted for in routine calibrations.
Thermal transients from nearby equipment: A centrifuge that cycles on and off every 20 minutes creates repeating thermal pulses that can produce a sawtooth drift pattern during a 10-replicate repeatability test.
Magnetic fields: Samples or containers with ferromagnetic components (stainless steel spatulas left on the pan, magnetic stir bars) interact with the balance’s magnetic flux and produce non-repeatable readings.
Practical checklist for persistent drift:
Confirm warm-up time matches manufacturer specification
Log temperature at 15-minute intervals during the calibration run
Inspect all weights under magnification for surface contamination
Identify and remove all ferromagnetic objects from the balance area
Verify no equipment within 1 meter cycles on/off during the test window
Check the anti-vibration mount for wear or compression set
Key Takeaways
Reliable analytical balance calibration requires NIST-traceable weights, documented as-found and as-left data, and a risk-based verification schedule that goes beyond annual external service.
Point | Details |
Run as-found tests first | Never adjust the balance before recording as-found readings; auditors require both data sets. |
Use the correct weight class | OIML Class E2 or ASTM Class 1 weights are required for 0.1 mg readability balances. |
Calculate minimum weight | Derive minimum weighable mass from the 10-replicate repeatability standard deviation, not from display resolution. |
Verify environment before testing | Confirm temperature stability within ±1°C per hour and close the draft shield before any as-found test. |
Escalate when remediation fails | Tag the balance out of service if any failure persists after environmental correction and weight replacement. |
Calibration culture matters more than calibration frequency
The labs that struggle most with calibration compliance are rarely the ones that skip annual service. They are the ones that treat calibration as a checkbox rather than a diagnostic tool. A calendar-driven approach, where you send the balance out once a year and consider the obligation met, misses the point entirely. Drift happens between scheduled events, and the only way to catch it is through consistent, documented daily and weekly verification runs that generate a performance history.
What that history reveals is often more valuable than the calibration certificate itself. A balance that passes its annual external calibration but shows a slow upward trend in its daily single-point checks is telling you something. The trend is the signal. Acting on it before the next formal calibration interval is what separates a reactive QC program from a genuinely controlled one.
At 7ohyea, the same principle applies to the research-grade materials we supply. Precise, reproducible results in alkaloid analysis depend on accurate mass measurements at every step, from initial weighing of reference standards to final formulation verification. A well-calibrated balance is not a background assumption; it is a documented, traceable part of the analytical chain. The SOP in this article maps directly to the kind of rigorous, audit-ready workflow that serious laboratory work demands.
Useful sources and where to find accredited calibration services
Authoritative standards and guidance documents:
USP <41> and USP <1251>: Compendial requirements for balance performance and minimum weight in pharmaceutical and research settings
ASTM E617: Standard specification for laboratory weights and precision mass standards
OIML R111: International recommendation covering weight classes E1 through M3
ISO/IEC 17025: Accreditation standard for calibration and testing laboratories
EPA SOP EQ-03-10: Federal SOP for calibration and maintenance of weigh balances, useful as a procedural reference
NIST Balance and Scale Calibration Seminar: Four-day NIST seminar covering calibration methodology, uncertainty computation, and error sources for analytical weighing instruments
Finding accredited calibration service providers:
When selecting an external calibration provider, ask for their ISO/IEC 17025 accreditation certificate and scope of accreditation before placing an order. The scope must explicitly cover the balance type and mass range you need. Request a sample calibration certificate to confirm it includes as-found/as-left data, stated measurement uncertainty, and a reference to the accreditation body. Accredited providers are searchable through the NIST National Voluntary Laboratory Accreditation Program (NVLAP) and the American Association for Laboratory Accreditation (A2LA) directory.
Suggested search terms to locate NIST-traceable weights and accredited labs:
“ISO/IEC 17025 accredited balance calibration [your state]”
“NIST-traceable OIML E2 weights supplier USA”
“NVLAP accredited mass calibration laboratory”
“ASTM Class 1 calibration weights with certificate”
FAQ
How often does an analytical balance need to be calibrated?
Most labs run a daily or before-use single-point check, a weekly-to-monthly in-house multi-point verification, and a full external calibration annually or per their quality system requirements. Frequency should increase based on use intensity, criticality of results, and historical drift data.
What is the 5-point calibration method for a balance?
The 5-point method tests linearity by placing NIST-traceable weights at zero, approximately 25%, 50%, 75%, and 100% of the working range, recording the as-found reading at each point, and comparing each reading to the certified mass to calculate error and pass/fail status.
What is analytical balance calibration?
Analytical balance calibration is the process of comparing a balance’s readings against NIST-traceable certified weights across its working range, documenting as-found and as-left data, and verifying that repeatability, linearity, and eccentricity meet defined acceptance criteria. It establishes metrological traceability and produces a documented calibration certificate.
What is the ISO standard for balance calibration?
ISO/IEC 17025 is the accreditation standard for calibration laboratories; it defines the competence requirements a lab must meet to issue traceable calibration certificates. The standard itself does not specify balance tolerances; those come from USP <41>, ASTM E617, and the manufacturer’s specification.
Can internal calibration replace external calibration?
No. Internal automatic calibration adjusts the balance’s span using a built-in motorized weight and is useful for frequent performance maintenance, but it does not provide metrological traceability. External calibration with certified weights and a documented certificate from an ISO/IEC 17025-accredited lab is required to satisfy traceability requirements under USP, GMP, and ISO/IEC 17025 audits.